9 of 10: Maximize Efficiency with Portal Customization and Automation
Elevate your client experience with a customised portal and streamline your tasks with automation. Learn how these tools can transform your practice's productivity and client engagement.
Lastly, we recommend you to navigate to 'File Name Templates'. These will allow you to set some pre-defined file names so that when you upload a file to the portal. You can quickly and consistently rename the file.
Client Portal Settings
Head to your Settings - Left Hand Side - Portal - General Settings
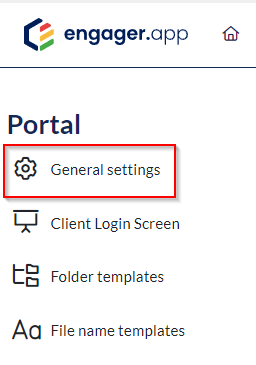
From here you can amend the settings and permissions that you want your client to see / interact with

Client Login Screen
This is where you can really look to customise the look and feel for when your client is logging - get your branding in there, get your colours and and play with some newly created emojis. Your portal login screen represents you and your practice

Folder Templates and Structures
This is where you can set what folders you will need per client type, so folders for Self Assessment clients and folders for LTDs
You will see 3 options Read, Write and SubFolder. The most import of these is READ when it is Green as this denotes that your client can SEE the document in their client portal
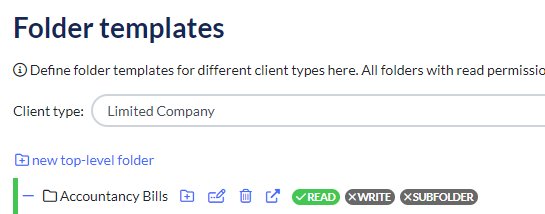
If WRITE is green, it means that your client can interact with that document, they can read, and upload their own documents to that folder - handy
Remember that if you hold documents such as working papers, for your client, you can keep these hidden in a Subfolder - don’t mark it as Green as the clients can see your workings. If there’s anything sensitive also, make sure the folder remains grey
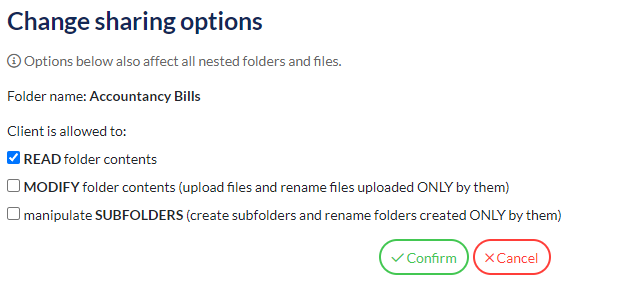
It’s very quick and easy to change these permissions by selecting the ‘change sharing options’ icon

From here you can amend the options accordingly
If you want to ADD a new Folder and additional nested folders within, simply select ‘New top-level folder’ name accordingly, then select the ‘Add nested folder’
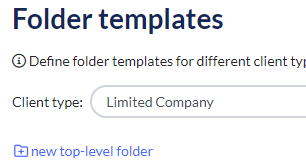

There you go!
Related Articles
Self Assessment Service, Forms, Payment Reminders, Payment on Account and Automation
Self Assessment season is often a race against time for accounting practices. Between chasing clients for information and managing tight deadlines, it can feel overwhelming. But with Engager, you’re equipped to turn chaos into control. Our tools ...Settings for the client portal
We recommend you to navigate to 'File Name Templates'. These will allow you to set some pre-defined file names so that when you upload a file to the portal. You can quickly and consistently rename the file. Client Portal Settings Head to your ...My client can’t log into their portal / Password reset
Typical Login issues Incorrect email - check their email versus what you have stored in Engager (see below for more detail) Portal - Are they logging into the correct domain. Remember, it's YOURCOMPANYNAME.PORTAL.engager.app, it's the all important ...How to use the client portal in Client Engager
In this video, we take a look at what our clients can see in their portal and how to these use it. You'll see how they sign documents and also complete forms. If you've not used Forms before, click here for more information, For more portal tips and ...Client cannot see the documents in the portal
If your client gets in touch to say that they can't find a document to review, then the first think you'll need to check is your Folder Templates settings. Head to Settings - Portal - Folder templates From here, review the folders paying close ...